The power of mosaic images
By Tim Richter
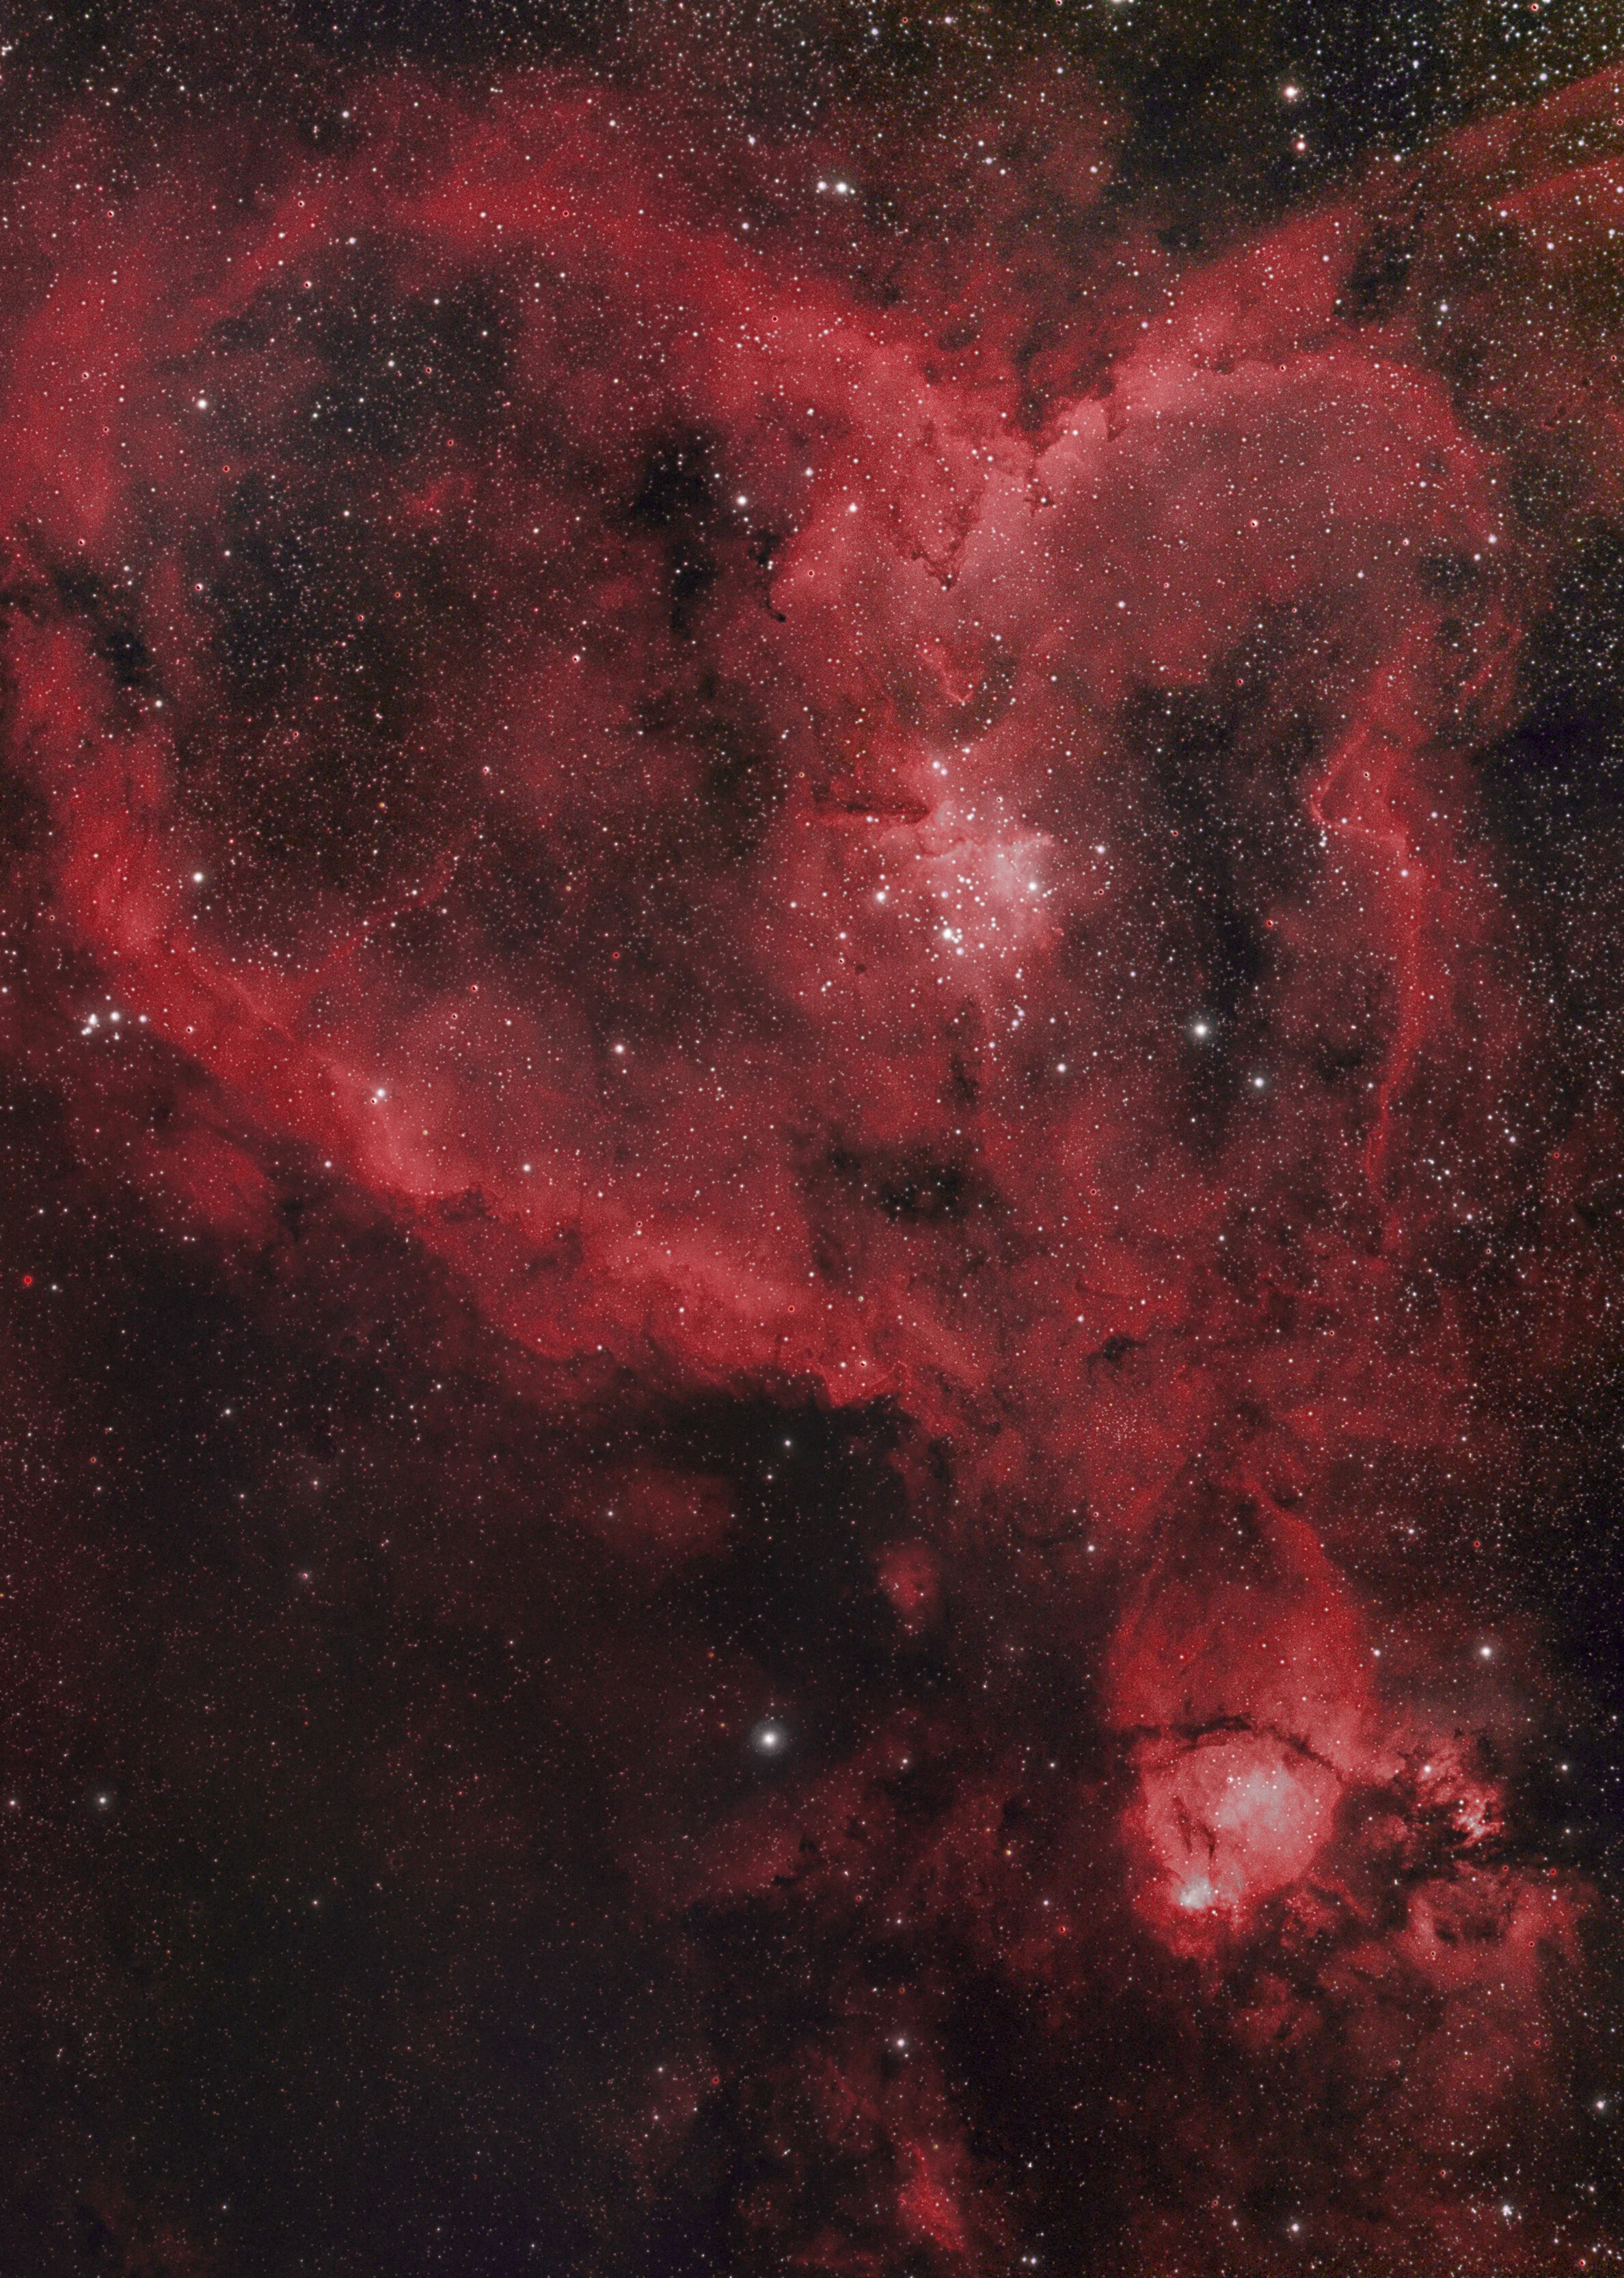
The more pixels, the better. Mosaic’s are an exciting new opportunity to enhance your images, increasing the resolution and FOV dramatically. Learn how I stitched this image of Melotte 15 – The Heart Nebula – in PixInsight. The result is more than 100 MegaPixels strong!
Planning
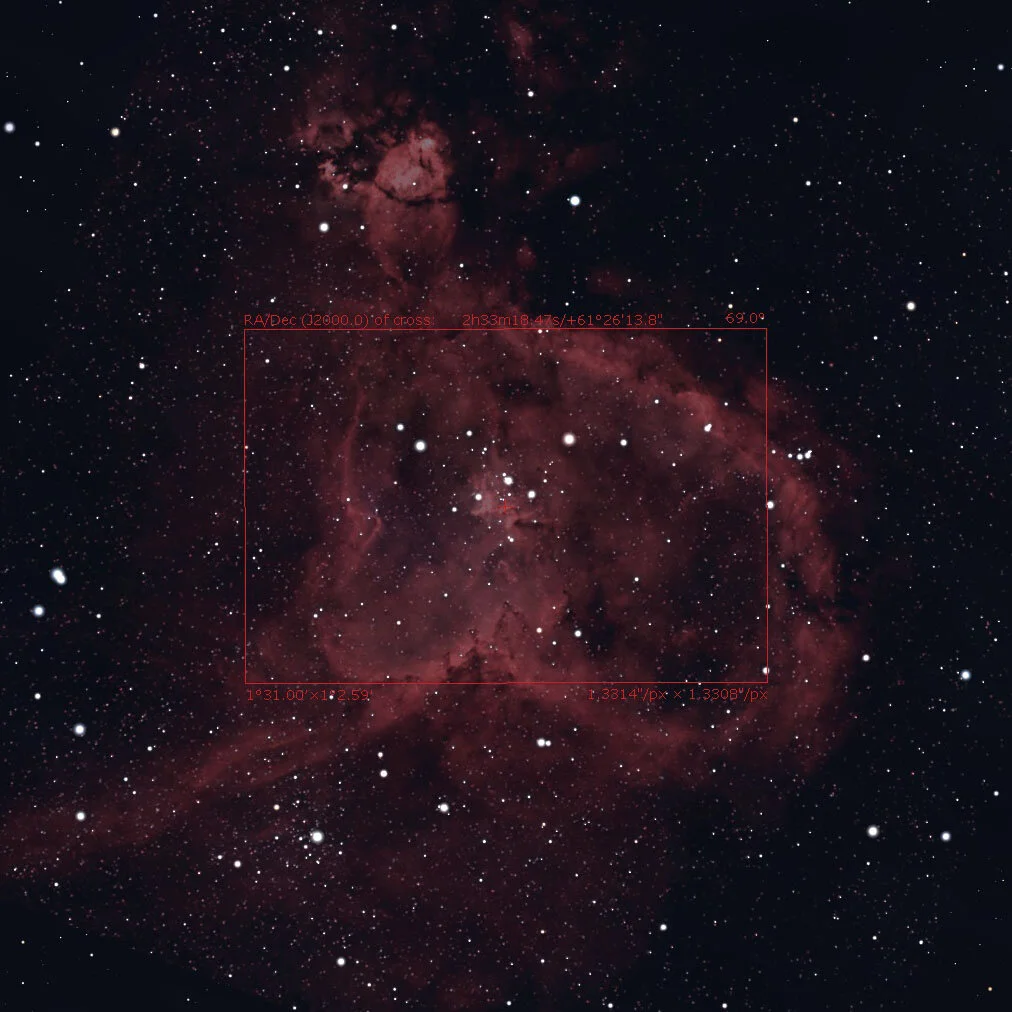
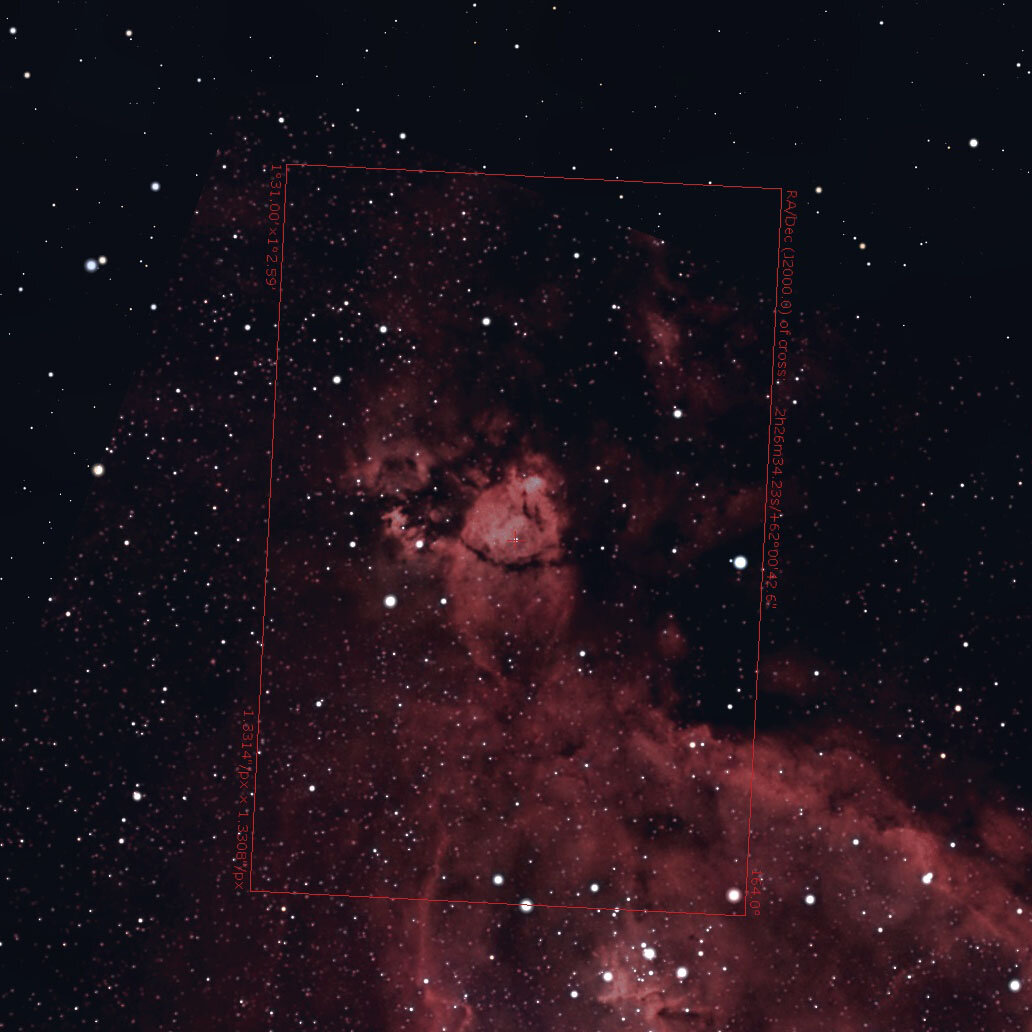
With a focal length of more than 600mm and APS-C, there are a handful of big targets in the sky. If you want to frame Andromeda Galaxy, the Magellanic Clouds or the Heart Nebula, you will encounter a tiny – or big – problem. The targets are too big, you are too close to them. The solution is to upgrade to full frame, or buy a smaller telescope. Or, create a mosaic. Split the object into two or more segments, dedicating each of these special interest, and maybe entire nights. In my example, my focal length and sensor size allowed me to create four different segments, called panels. These panels are stitched by software, which aligns correlating stars. That’s why the panels need to have at least 10% overlap, 20% at best. *include image 1* I planned four different nights, taking the exact coordinates of each image center from Stellarium. The camera FOV feature allows you to enter the specs of your equipment, and move a preview rectangle across the sky. The center of the rectangle is displayed as a crosshair, RA/DEC coordinates given in J2000 and JNow. The camera angle is also shown, adjustable for perfect framing. By comparing before and after, and blending screenshots, I got myself four sets of coordinates and a fixed camera angle. Now is the time to get outside and image your target of choice!
Imaging
How many nights and panels you plan, is up to you! I chose to give each panel a dedicated night, collecting four to five hours times four. If you have enough time, you can of course shoot multiple panels per night. In my example, I ended up with four sets of lights, darks, bias, and flats. The imaging scope was a Omegon 102/714 APO Triplet, the camera a ZWO ASI 294 MCPRO, the filter a IDAS NB1 multipass. I was lucky to catch a stretch of four clear nights in a row, and had an absolute blast doing so! Using APT, I entered the coordinated as a custom object, and plate solving moved the mount precisely to the center of each panel, each night.
Processing software
Each set of frames is processed as an independent stack. The task of stitching can be accomplished by several software solutions, the one advertising it the most being probably AstroPixelProcessor. Nevertheless, I chose PixInsight.
Pre-Processing
My workflow to generate an integrated image includes: -Blink: Sort out bad frames. Oval stars, satellites, cosmic rays, clouds. All the bad stuff must perish. -Subframe selector: Sort the frames by SNR, choose the reference, and delete remaining out of focus images. -Flat calibration: Flats are calibrated with the master bias and dark, and stacked. -Light calibration: The four sets of lights are calibrated with their respective mater flats, darks and bias. -Cosmetic correction: Removal of remaining hot and cold pixels -DeBayer: VNG conversion into RGB color space Finally, each stack of frames is registered with the Star Alignment tool, and integrated. We end up with four different integrated images, with decent overlap, to represent our entire object.
Processing
Before combination, there are still some steps we must take. Each frame is background subtracted and color calibrated. The tools of choice are Dynamic Background Extraction, Background Neutralization and Color Calibration. With broadband data, you have to balance these tools to get the fours panels as close to each other (color-wise). With my multi-narrowband filter, all panels were already very close to each other, speeding up the process tremendously. Now we are (almost) ready to combine our data!
Mosaic stitching
PixInsight has a dedicated script made exactly for this purpose. But, who could’ve guessed, we need to prepare our frames one more time. First, we need to create an alignment template. The Star Alignment tool will do. Choose one of the panels as reference, select ‘Register/Union – Mosaic’ as the working mode, and apply to another panel. Now, choose this as the reference, and repeat until the template is created. It does not have to look pretty, it’s only a intermediate image. Second, the individual frames have to be registered to the template. Within the Star Alignment tool, choose ‘Register/Match Images’, set the template as reference and apply to each panel. You will end up with four registered frames, moved within their canvas. Save each image to your hard drive to continue.
Now, finally, we are ready. The process is called ‘Gradient Merge Mosaic’. The combination type is ‘average’, ‘shrink’ and ‘feather radius’ are unique for each mosaic. Testing and adjusting are key elements here. You can enable ‘Generate Mask’, to have more control over the overlap; called ‘seam’; since this region will suffer from artifacts. Load your saved panels as target frames, and hit run.
Removing Artifacts
Two errors might be apparent right away. The mosaic can suffer from a visible overlap, and harsh edges at the seam. Minimize this error by adjusting the feather radius. Second, you will probably encounter so called ‘pinch artifacts’. Dark spikes and dust around bright stars. The panels are combined using feathering and blurring in all directions, and a bright star close to a dark edge within a panel will draw this darkness to its center. This error can be removed by adjusting the ‘shrink radius’ and the clone stamp tool. Since the star is close to the edge of a panel, it will also be seen on the neighboring panel, but without causing this error there. Simply delete the star closer to the edge, using clone stamp, and it will be replaced by the other panel after the next run.
About my image
More editing steps followed, and finally, my version of the Heart Nebula was done. Four times the resolution of my camera, combined with drizzling, created a 107 MegaPixel image. The project file was too big to be saved at once, and the final JPEG is still 50MB strong. Though it was my first time creating a mosaic, I consider it quite successful. The journey through night three is documented in my Video, where I share all of my thoughts and experiences. Clear skies, and may the night be with us!